Getting food storage right is tricky, especially when it comes to managing moisture.
It’s incredibly frustrating to invest your time and money into bulk ingredients or dehydrated foods, only to open them months later and find them ruined. A few weeks of temperature changes can turn your expensive freeze-dried harvest into a clumpy, moldy mess. Usually, this happens because folks just throw a random moisture packet into a bucket and hope for the best.
We’ll help you solve your moisture problems with exact math. To keep your food perfectly dry, the industry standard is 1.2 desiccant units per cubic foot of air volume.
Let’s break down exactly how you can calculate the precise desiccant size for your food storage containers.
What Actually is a "Desiccant Unit"?
In my years of helping people pack away everything from delicate spices to bulk grain, the most common mistake I see is confusing a packet’s physical weight with its absorption capacity.
Before we calculate how many packets you need, we have to define what a “unit” actually means. A “Desiccant Unit” is measured by how much moisture it can hold, not what it weighs on a scale.
One standard Desiccant Unit will absorb:
- 3 grams of water vapor at 20% Relative Humidity (RH) and 25°C.
- 6 grams of water vapor at 40% Relative Humidity (RH) and 25°C.
Because different materials soak up moisture differently, the physical weight of one unit changes depending on what’s inside the packet.
Desiccant Material | Approx. Weight of 1 Unit | Best Application |
Silica Gel | ~26 grams | General purpose, spices, packaged snacks. |
Bentonite Clay | ~33 grams | Bulk grains, cost-effective shipping. |
Molecular Sieve | ~28 grams | Ultra-low humidity requirements. |
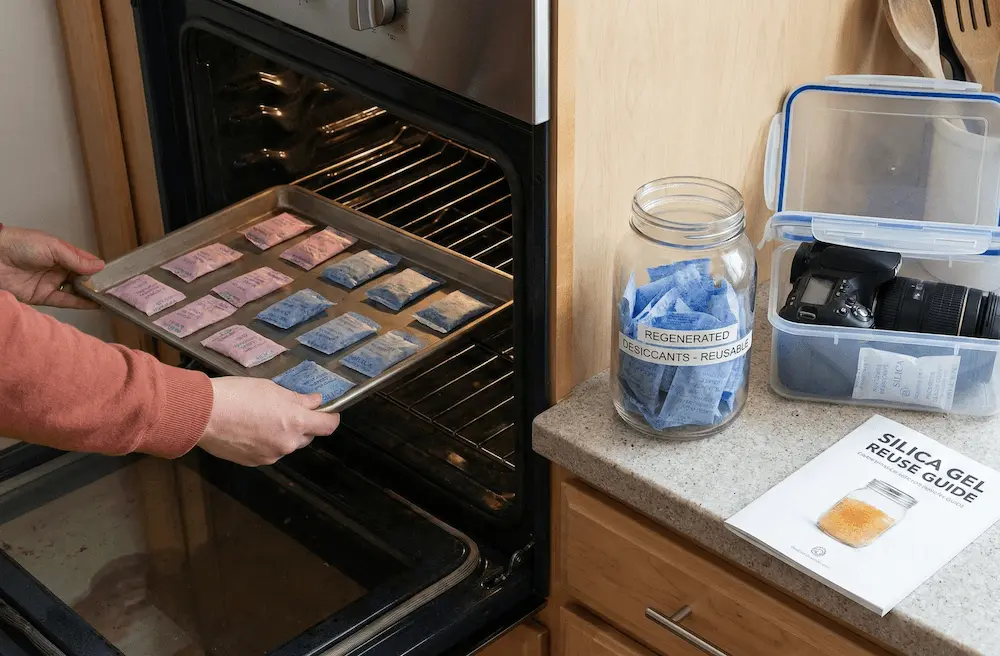
Whenever you are storing things you plan to eat, we highly recommend you ensure your packets are FDA-compliant for food contact.
How to Calculate Your Desiccant Size
If you are using rigid containers like HDPE pails, steel drums, or metal cans, you need to use the volume calculation method. Here is how you do it step-by-step.
Step 1: Calculate Your Container Volume
First, measure your container’s internal dimensions in inches. Then, convert that number into cubic feet using this formula:

Step 2: Apply the Standard Multiplier
Next, take your total volume in cubic feet and multiply it by the standard military specification multiplier.

Step 3: Add Your Safety Factor
The basic formula assumes your container is perfectly sealed and completely made of non-breathable material. In the real world, this is rarely the case.
Plastic buckets breathe slightly, and lid seals aren’t always perfect. Because of this, we recommend rounding your math up to 2.0 units per cubic foot. This gives you a solid safety buffer to guarantee protection against unexpected moisture creeping in.
Quick Reference Sizing Chart for Common Containers
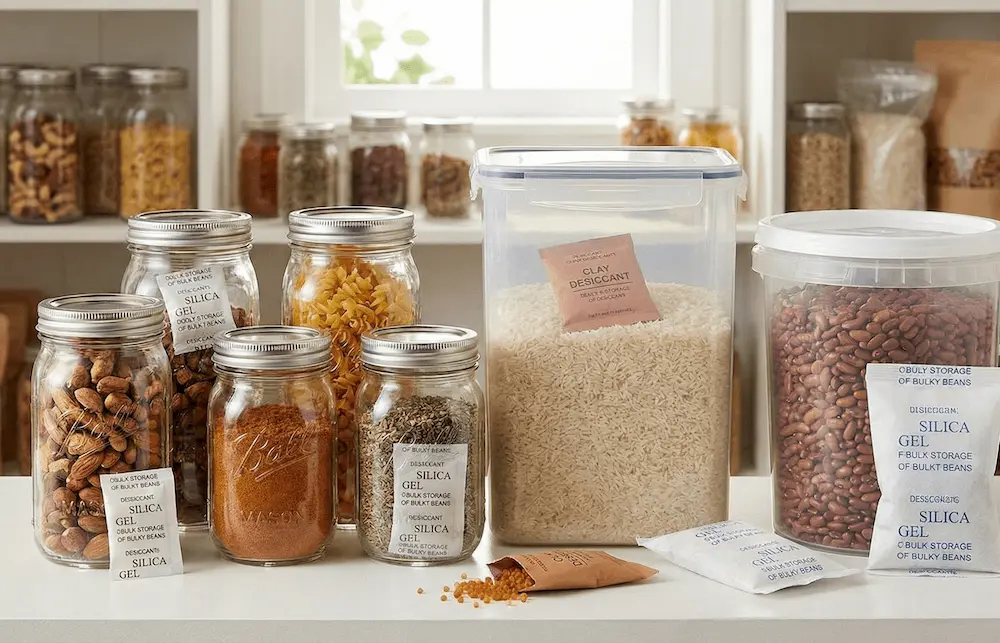
To save you some time, I’ve put together a quick cheat sheet for the most common food storage containers. These recommendations use silica gel as the baseline.
If you decide to use clay instead, the physical weight of your packet will be a bit heavier, but the “unit” count stays exactly the same.
#10 Cans and Small Glass Jars
Small rigid containers don’t hold much air. But, because dehydrated foods and spices aggressively pull moisture from the air, you can’t rely on volume alone.
- Container Volume: roughly 0.14 to 0.25 cubic feet.
- Our Recommendation: Use a 1/6 Unit to 1/3 Unit packet. You’ll want a 5g to 10g silica gel packet.
5-Gallon Pails
This is the gold standard for storing bulk ingredients like flour, sugar, and rice.
- Container Volume: roughly 0.7 to 0.8 cubic feet.
- The Math: 0.8 x 1.2 = 0.96 Units.
- Our Recommendation: We recommend using 2 Units. Pails flex and “breathe” when air pressure changes during transit. Using two units (about 50g of silica) ensures the empty headspace stays totally dry, even if your lid gets bumped.
55-Gallon Steel or Plastic Drums
If you are scaling up your production, you’re likely working with large drums.
- Container Volume: roughly 7.3 cubic feet.
- The Math: 7.3 x 1.2 = 8.76 Units.
- Our Recommendation: Use 16 Units total. You can usually buy these as a single 16-Unit bag or two 8-Unit bags.
- Pro Tip: Toss your desiccant bags right on top of your product liner before sealing the lid. This treats the trapped air immediately.
Mylar Bags and Flexible Packaging
Mylar bags are fantastic because they block moisture incredibly well. For these bags, your calculation relies heavily on the surface area of the foil and how well you ironed the seal shut.
- For a 1-Gallon Mylar Bag: You should use 1/2 Unit to 1 Unit (about 15g to 30g).
- For a 5-Gallon Mylar Bag: You should use 2 Units to 3 Units (about 60g to 90g).
If you need high-quality packets for your bags, our silica gel desiccants might be a good choice to keep your long-term storage perfectly dry.
Three Variables That Can Change Your Math
You shouldn’t rely on volume alone. Over the years, I’ve learned that you have to adjust your strategy based on a few real-world variables.
1. How Wet is the Food Initially?
If you are packaging heavily dehydrated goods like beef jerky or freeze-dried fruit, you are fighting internal moisture just as much as external humidity.
We suggest increasing your total desiccant load by 50% for these items. You should also stick to silica gel, as it acts much faster at lower humidity levels than clay does.
2. Your Storage Environment
The standard formulas assume you are storing your food at a comfortable 25°C. If your containers are going to sit in a hot warehouse or ship across the ocean, things change.
High heat can actually cause cheap clay packets to release their trapped moisture back into your food. If you expect high heat, molecular sieve desiccants might be a better option because they hold onto moisture tightly, even when baking in the sun.
3. Your Packaging Material
A cardboard box with a thin plastic liner lets a lot more moisture through than a thick Mylar bag or a glass jar.
If your outer barrier is weak, your desiccant will eventually fill up and stop working, no matter how large it is. You always need to fix your packaging barrier before you try to solve the problem by just adding more packets.
Your Quick Buyer's Checklist
When you’re ready to buy desiccants for your next food project, make sure you check off these four points before making a decision:
- Calculate the exact internal cubic footage of your container.
- Know how breathable your container is (glass is totally sealed, thin plastic is not).
- If you are storing food for more than a year, double your standard packet size for safety.
- If you pack your food while it is still warm, condensation will form as it cools down. You’ll need extra desiccant to soak up that “container rain.”
By following these simple rules, you can ensure your hard work pays off and your food stays fresh, safe, and delicious for years to come.